
Someone Just Handed You a Box of Old Family Photos. Now What?
Here's a step-by-step guide to sorting, handling, and organizing inherited family photos‚ without making the common mistakes that damage them.
Alden Cooke
2/7/20269 min read
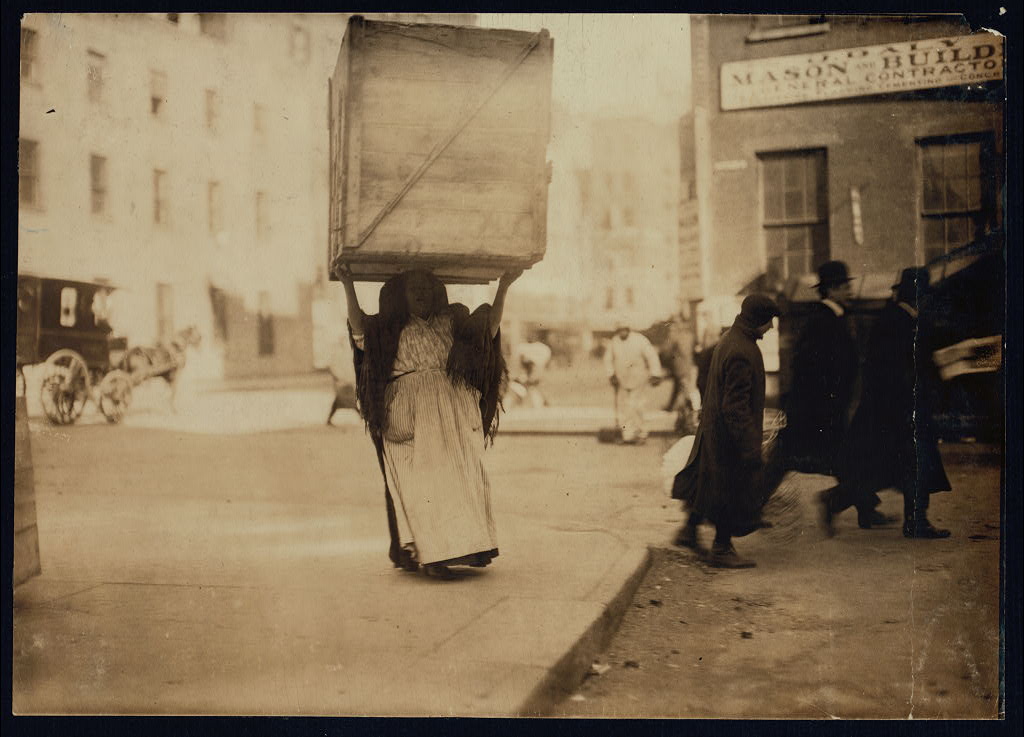

"Italian woman carrying an enormous empty dry-goods-box for some distance along Bleecker Street, N.Y. Used for kindlings. Location: New York, New York (State)"
Hine, Lewis Wickes, 1912. National Child Labor Committee collection, Library of Congress, Prints and Photographs Division.
Opening the box of old family photos is exciting, but doing it without a plan can hamper your findings
You know how this happens. You've mentioned your family history research at one Thanksgiving, maybe two, and now you are The Person Who Does That. And one day, a relative arrives at your door carrying a shoebox, a grocery bag, or if you're really lucky, an ancient photo album wrapped in a dish towel, and they hand it to you like it's a sacred artifact. Which, honestly, it kind of is.
This is a genuinely exciting moment. It is also a moment where well-meaning people make mistakes that can't be undone. Old photographs are fragile. Some of them are more than 150 years old and have survived this long through sheer luck. A little preparation on your end goes a long way toward making sure they survive another 150.
Before You Touch Anything: Set Yourself Up to Succeed
The single most common mistake people make when they get a box of old photos is cracking it open immediately, on the couch, while watching TV, with nowhere to put anything. Don't do that.
Give yourself a real session. Clear off a kitchen table or another large flat surface and then keep clearing until you have more room than you think you'll need. You're going to be sorting photos into piles, and those piles multiply fast. A cramped workspace leads to photos getting shuffled, stacked on top of each other, and mixed up. That's exactly what you're trying to undo.
Wash your hands before you start. The oils on your fingers can damage photo surfaces over time. If you're dealing with photos from the 1800s, cabinet cards, tintypes, anything that old‚ consider wearing cotton or nitrile gloves instead.
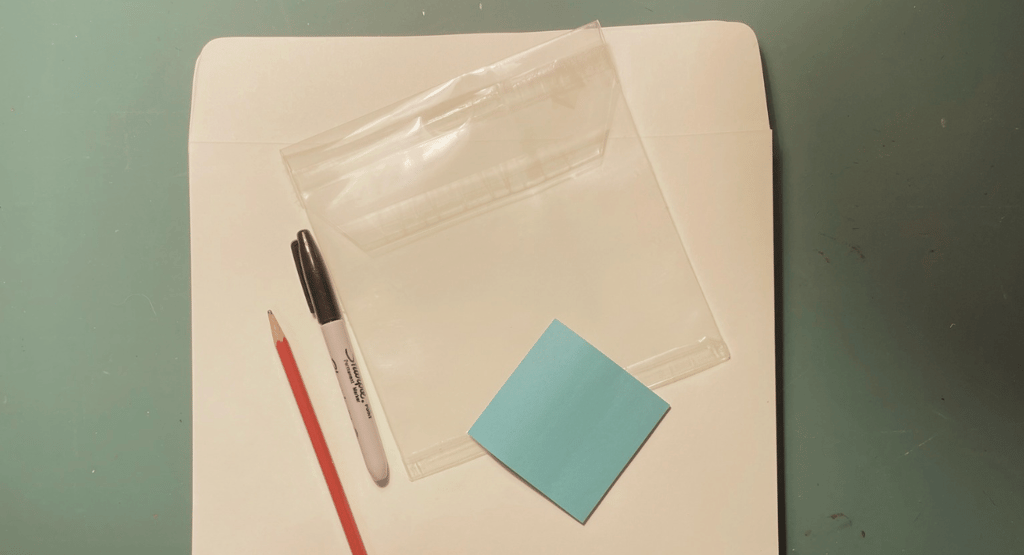
Supplies to gather before you begin:
Sticky notes
A notepad for running observations
A photo-safe pencil (never a pen‚ ink bleeds through and damages photos)
A permanent marker (for labeling the outsides of envelopes only, never touching photos)
Archival-safe, acid-free and lignin-free paper envelopes, large size. These are available at most craft stores or online from archival suppliers. If you can't source these right away, resealable zip-top plastic bags work as a temporary measure, though they're not a permanent solution.
A few sheets of white or unbleached acid-free, lignin-free paper, such as high-quality scrapbook paper. These are useful as buffers between photos.
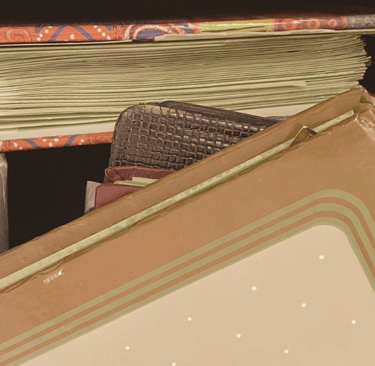
Step One: Deal with the Albums First
Antique albums are the ones with black-and-white or sepia photographs and, often, cabinet cards tucked into slots. The pages may be on black or cream colored paper, and photos may be held in place with photo corners rather than adhesive. These albums are often made with cotton or linen papers that have aged well precisely because they're made without modern chemicals. Leave the photos where they are. Do not remove them from the album. The album or cabinet card frame itself is an artifact, and the arrangement of photos in it may carry information you don't want to lose.
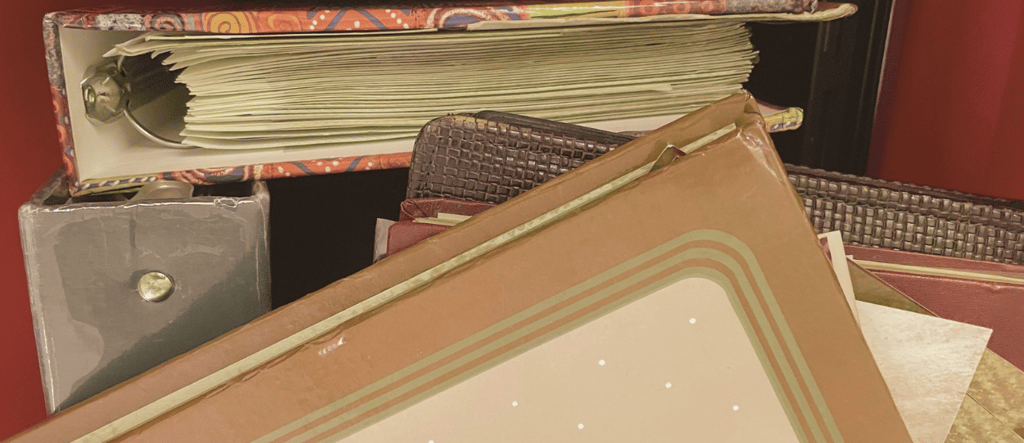


Modern albums are the problem. These are typically from the mid-20th century onward, and they come in two varieties. The first type has plastic sleeves, which look protective but are often made with PVC and other acidic materials that slowly destroy photos from the outside in. The second type is the one that makes conservators shudder: the so-called "magnetic" album, popular from the 1970s through the 1990s. These albums have pages coated with a thin layer of adhesive, covered by a plastic sheet. They were convenient, and they have been quietly destroying photographs for decades.
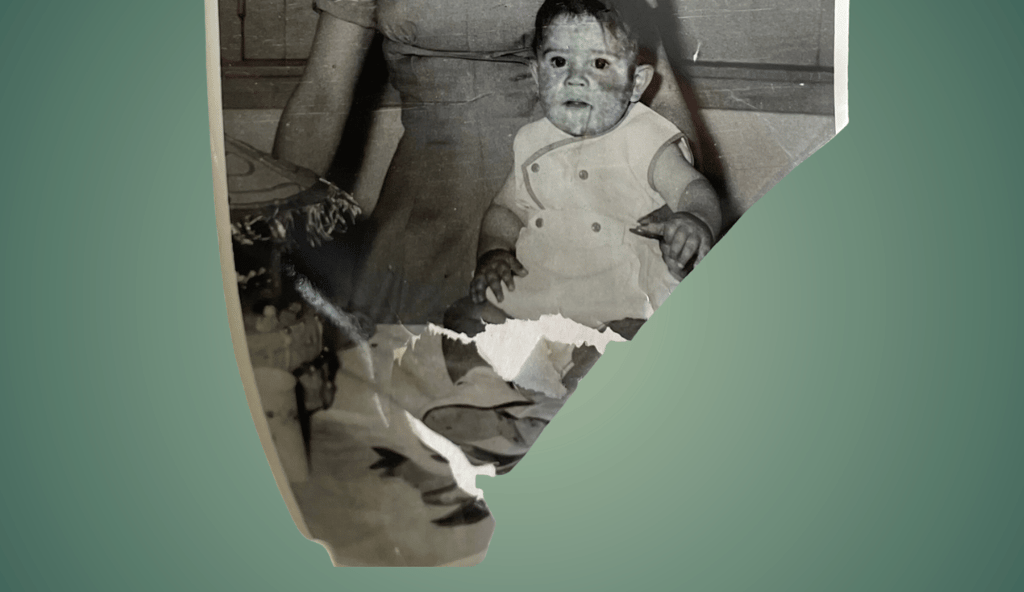
Photos in modern albums generally need to come out. The extraction process has the added benefit of revealing writing on the backs of photos, which is often where identifications were made.
Getting photos out of modern albums can be surprisingly easy or genuinely difficult, depending on the age and condition of the adhesive. If the glue has dried out, photos may lift right off. If they're stuck firm, do not pull. Old photos tear. Before you try to remove any adhered photo, take a clear photo of the entire album page with your phone, or scan it if you have a scanner nearby. That way, if something goes wrong during removal, you have a digital record.
One technique that often works for stubborn adhesion is to use unwaxed dental floss. Slide it gently beneath one corner of the photo and use a slow sawing motion to work your way under the image. Go slowly. If it doesn't give, stop. Scan the page and leave the photo where it is for now. Some battles are better saved for another day so you can do more research on removal techniques or consult a conservator.
Step Two: Sort the Loose Photos Into Groups
Once the albums are handled, turn your attention to the loose photos in the box. Before you start sorting individually, look at how the photos came to you. Are there rubber-banded bundles? Groups held together with a paper clip? Stacks that seem to belong together? That original grouping is information. Someone put those together for a reason.
Gently separate the loose photos into their natural chunks, lay those chunks out across your table, and do a quick look-through each one. You're looking for whether the photos in a given group seem to belong together, whether by event, time period, family branch, or some other logic. When you find a group that makes sense, put them in a small pile and set a sticky note nearby (not on top of the photos) with a quick description: "looks like a wedding, maybe 1950s?" or "grandma's side, farm photos."
Work your way through everything until every photo is in a pile somewhere. There will almost certainly be a pile of orphans, photos that don't obviously fit anywhere. That's fine. Give them their own pile and a sticky note that says something like "don't know yet."
Step Three: Edit the Piles
Here's where you make your first real decisions. Go through each pile and pull out photos that are purely scenic: sunsets, vacation monuments, zoo animals, general landscape shots with no people in them. These filler photos are very common, especially from the mid-20th century onward when photography got cheap, and everyone documented their trip to Yellowstone in detail. They don't tell your family's story and they dilute the collection. Set them aside.
There's an important exception to this. Do not remove photos of family places or objects. A picture of your great-grandmother's house matters. A photo of a car that belonged to a family member, a farm, a storefront where someone worked, a church where people married and were buried, these are part of the story even when no one is standing in front of them.
Also, hold onto older scenic photographs, especially black-and-white ones. Photography was expensive and cumbersome before the mid-20th century. If someone in your family made the effort to photograph a building or a location, there was probably a reason. You may not know yet what that reason was.
Step Four: Start Identifying People
Now, go back through each pile, one at a time, and identify anyone you know for certain. Write their name lightly on the back of the photo using your photo-safe pencil. Write lightly. The goal is a legible note, not an engraving.
For the people you don't recognize, look for clues within the pile. If you're working through a group of photos that seems to be from one era or one family branch, an unknown face might be a plausible candidate from that branch. Think of this as forming a hypothesis about someone's identity rather than deciding who they are. Write your best guess on a note card or in your notepad, labeled clearly as a hypothesis, and attach it to that pile's sticky note.
This is a genealogically important habit. The distinction between "identified with certainty" and "suspected based on context" matters a lot when you're building a family record. You don't want a guess to calcify into a fact over time.
Repeat this for every pile, then see whether you can put the photos in each pile in rough chronological order. Clothing, hairstyles, photo formats, and paper stock can all help with dating.
Step Five: Protect the Most Fragile Photos Now
Once everything is sorted, identify your most vulnerable items. Cabinet cards, tintypes, daguerreotypes, and very old paper photographs need special attention.
These rare pieces should be documented immediately, even before you know who's in them. At a minimum, take a clear, well-lit photograph of each one with your phone. If you have a scanner available, scan them now rather than waiting. The value of these images is not just sentimental‚ they may be the only surviving likeness of a particular person. Getting a digital copy in hand right away is insurance.
Step Six: Pack Everything Up Properly
You've done real work. Now give yourself permission to stop and preserve what you've accomplished.
Use your permanent marker to label the outside of each archival envelope with the pile's description. Tuck the sticky note and any hypothesis notes inside the envelope with the photos. Seal them up. You now have a sorted, labeled set of photo groups that you can return to in a future session for the deeper work: more thorough identification, scanning, and permanent storage.
The next steps, figuring out who people are using genealogical evidence, getting photos scanned properly, and storing them for the long term, are a full topic of their own. For now, you've done exactly what needed doing: you've brought order to something that was in danger of staying chaotic forever, and you've done it without damaging anything in the process. Not bad for an afternoon's work.
Frequently asked questions
Should I remove photos from old photo albums?
It depends on the album. Antique albums with black paper pages or photo corners are often made with archival-quality materials and should be left as-is. Photos in modern albums, especially "magnetic" albums with adhesive pages from the 1970s through 1990s, generally should be removed because the materials actively damage photos over time. Before removing any stuck photo, photograph or scan the whole page first.
How do I organize a large collection of inherited family photos?
Start by separating photos into groups based on event, time period, or family branch. Label each group with a sticky note near the pile, but not on the photos themselves. Edit out pure scenery shots with no people in them, but keep photos of family homes, cars, farms, and other places that have family significance. Older black-and-white scenic photos should usually be kept even if no people appear, since photography was less common before the mid-20th century and the subject was likely chosen deliberately.
What should I do with fragile antique photographs like tintypes or cabinet cards?
Photograph them with your phone or scan them immediately, even before you know who is in them. These formats are irreplaceable and a digital backup is cheap insurance. Handle them as little as possible and store them separately in archival sleeves or envelopes.
How do I get photos out of a magnetic photo album without tearing them?
Try sliding a length of unwaxed dental floss gently under one corner of the photo and using a slow sawing motion. If the photo doesn't release easily, stop and don't force it. Scan the page as-is and return to it later. Pulling on a stuck photo is the fastest way to damage it permanently.
What supplies do I need to sort old family photos?
You'll need a photo-safe pencil (never a pen), sticky notes, a notepad, a permanent marker for labeling envelopes, and archival-safe acid-free and lignin-free paper envelopes for storage.
What is a "magnetic" photo album and why is it bad for photos?
Magnetic albums, common from the 1970s through the 1990s, have pages coated with adhesive covered by a plastic sheet. Despite the name, there's no actual magnetism involved. The adhesive and plastic materials are acidic, and over time they degrade photographs, causing discoloration, sticking, and physical damage. Photos stored in these albums should be removed and transferred to archival storage.